
Campaign Hero
Support campaign content and boost engagement
Best practice demos

Campaign name heading
Add a complementary message

Short campaign slogan heading
Keep your supporting line brief
Usage guidance
Overview
Support campaign content and boost engagement
The Campaign Hero supports the website aspect of multichannel brand marketing campaigns.
It’s designed to highlight ad creative assets that have been specifically created to build awareness of your campaign. This includes assets like images, videos and logos.
You can also progress user journeys with two call-to-action buttons.
The Campaign Hero must only be used to highlight ad creative within brand campaign content. If you don't have ad creative to showcase, then you must use another type of hero banner. Similarly, don't use the Campaign Hero for any other content type, like product pages or thought leadership articles.
Hero-Full Width Image and Hero-Full Width Video offer similar functionality that you can use instead for non-campaign content.
How to use it
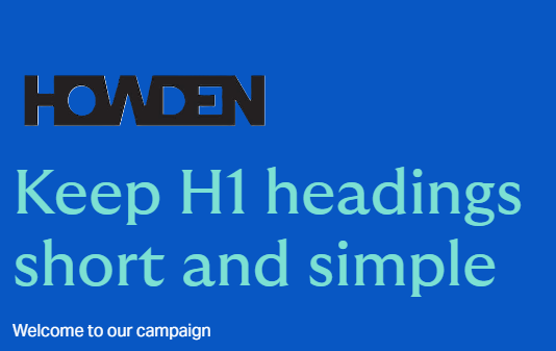
Step 1: Add a heading
The heading can be either a traditional H1 (the same as the page title) or a campaign slogan.
In either case, the heading must not run onto a third line. Use a maximum of 30 characters.
Optional step: Add a subheading
You can support the heading with a complementary message.
Make sure your subheading doesn’t go onto a second line. That gives you a maximum of 70 characters.
Step 2: Choose an image or a video
The Campaign Hero supports either an image or a video.
Image
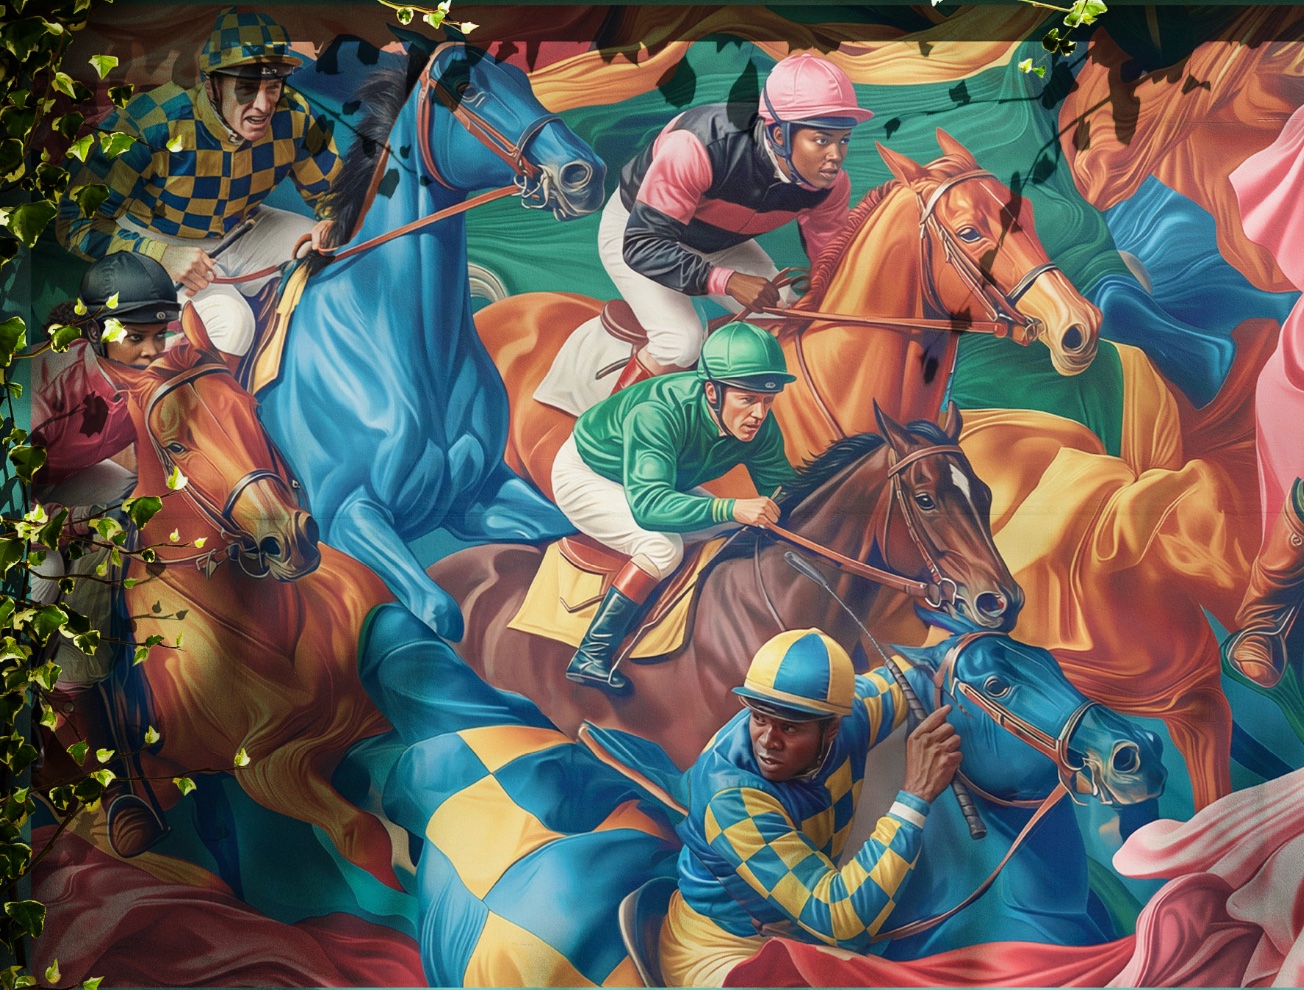
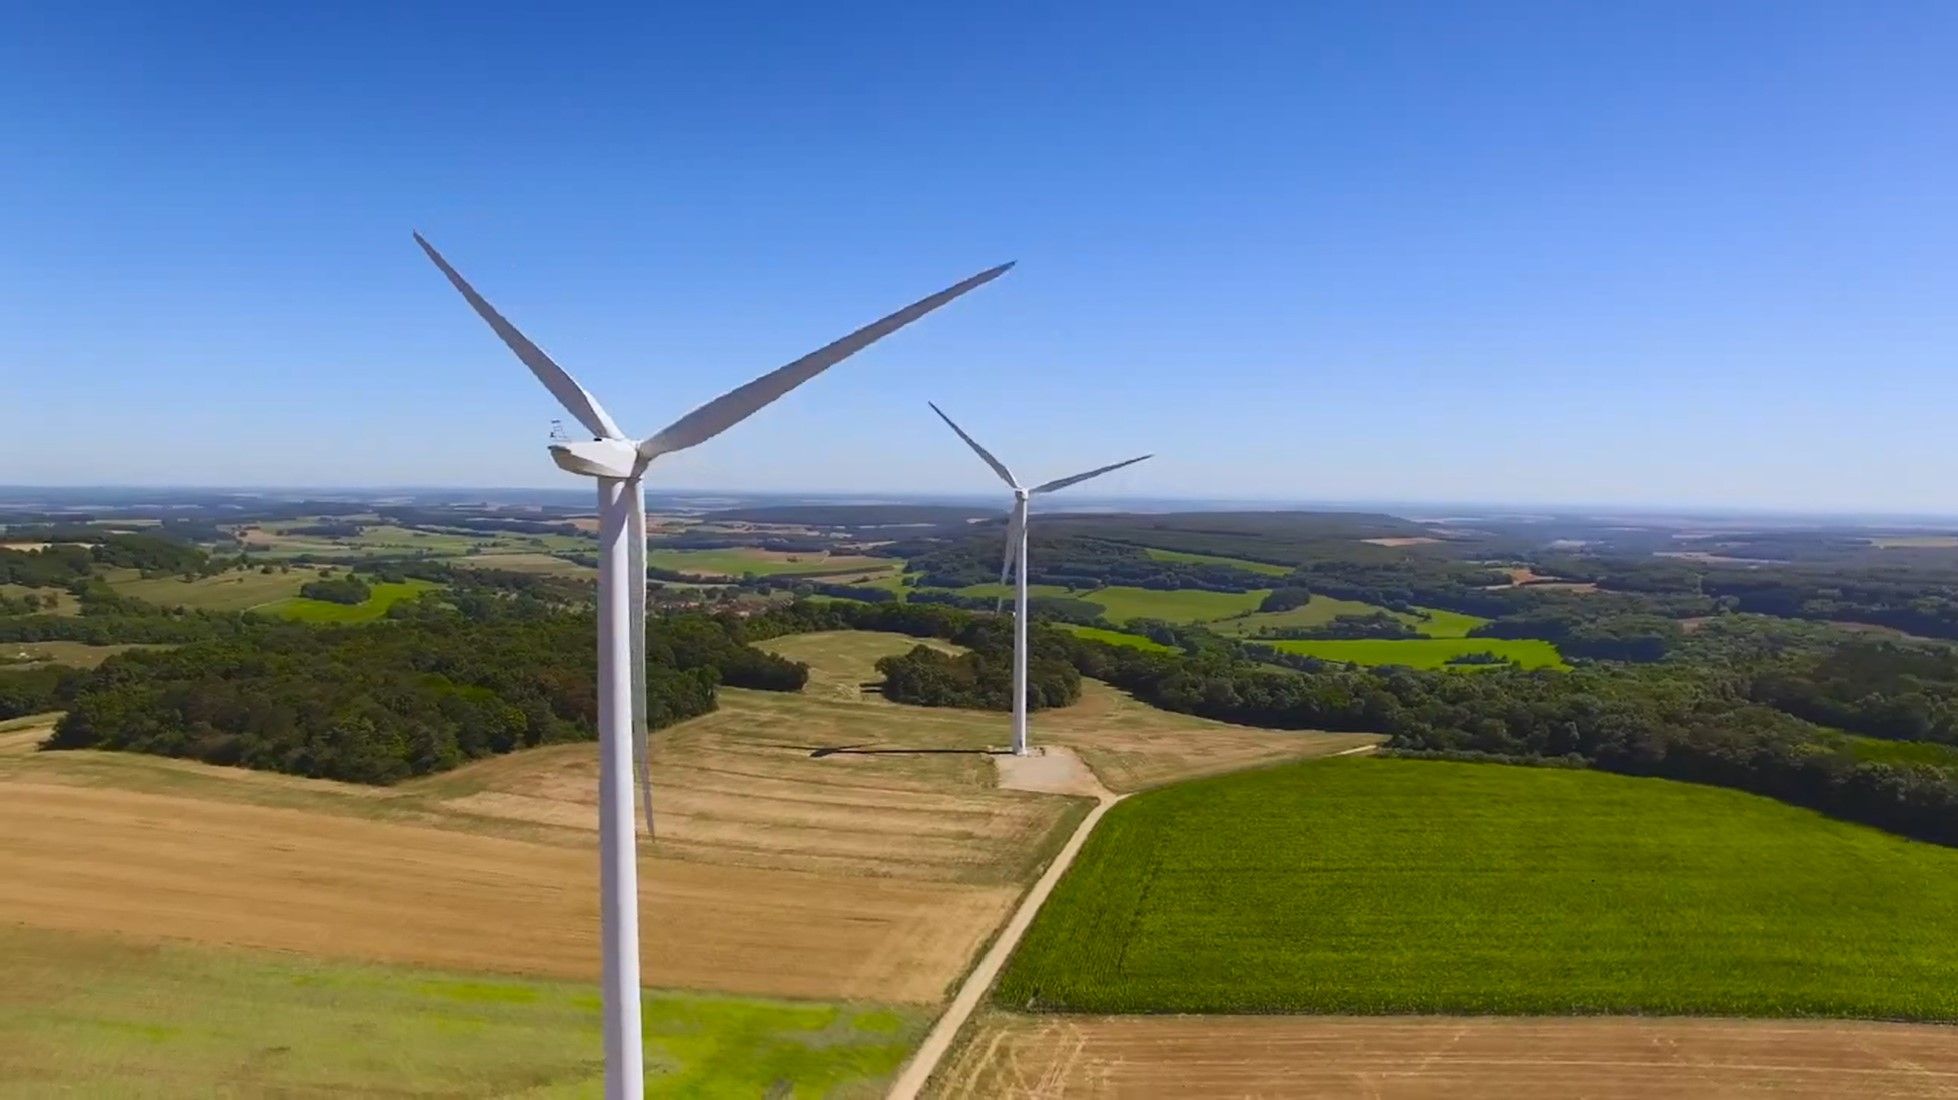
Choose a striking image to support your campaign. This can be artwork or photography.
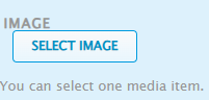
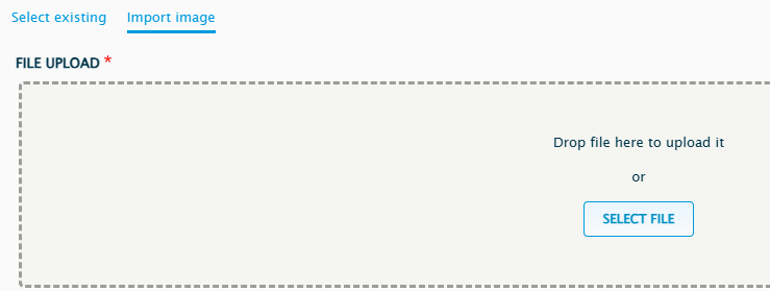
You can select an existing image or import a new one.
To upload a new image, select ‘import image', then ‘select file’.
Add a title and alternative text, then choose ‘select image’.
For more information about uploading images to the CMS, see the 'Image basics' advice.
Video
Videos draw attention to your messaging and boost engagement.
You can select an existing video or upload a new one.
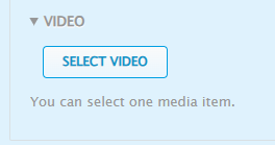
To upload a new video, select ‘upload a video’ then ‘choose file’.
Name the file and add a thumbnail image.
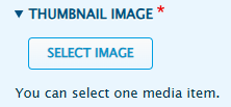
Optional step: Add a logo
You can add a logo to support your messaging. This may be the logo of the campaign’s sponsorship partner or an internal design.
When uploading the logo, it’s important to avoid empty white space. You can prevent empty space by uploading logos with a transparent background.
Some logos will already have a transparent background. Look for logo files with chequered grey and white squares in the background. For example:

The chequered grey and white squares are a visual representation of transparency. When you upload the logo, the background will take on the same colour as the Campaign Hero.
Other logo files will require you to manually remove the background. There are several ways of doing this. For Microsoft users, the built-in image editor is simple and free to use.
How to make a background transparent
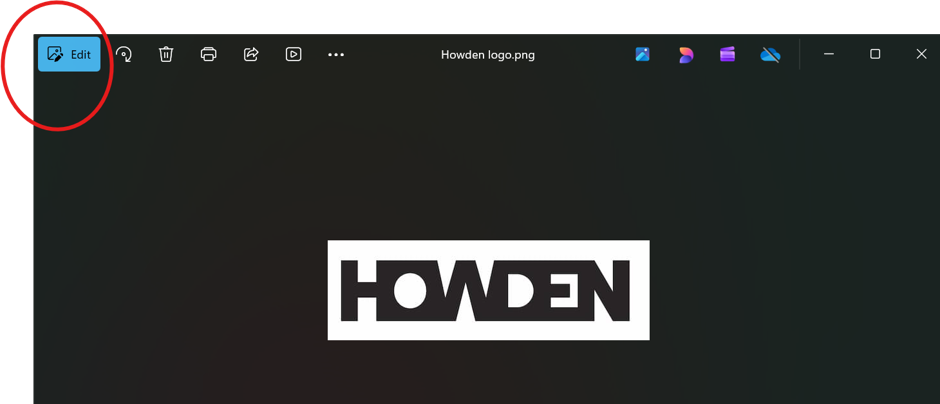
Step 1: Open the logo file and select ‘edit’
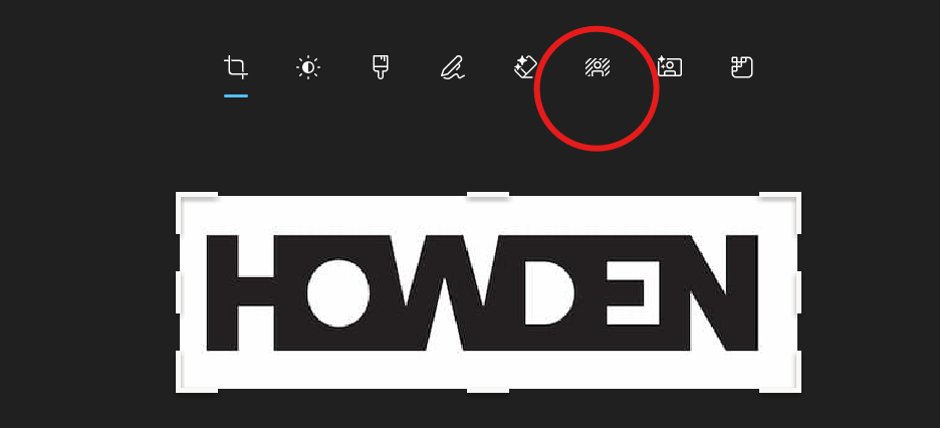
Step 2: Select ‘background’
Step 3: Select ‘remove’
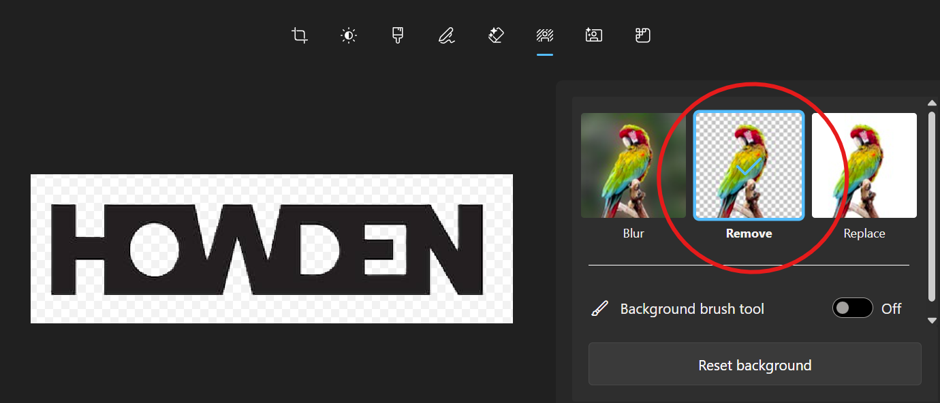
Once you select 'remove', the white background will be replaced by chequered grey and white squares. This means the background has been successfully removed.
Step 4: Save the image as a PNG file
To make sure the background remains transparent, save the logo as a PNG file.
Don't save the logo as a JPEG file. This is because JPEG files don't support transparency. That means your freshly removed background will be filled in by a solid white or black background when it's rendered on screen.
Step 5: Upload and check
To upload the logo, follow the guidance in Step 2.
Check the logo displays correctly. The background should match the colour of the hero banner, without showing any empty white space.
Step 3: Add call-to-action buttons
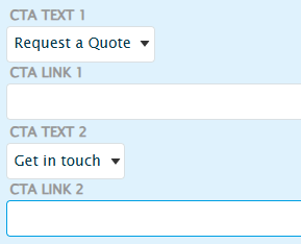
The Campaign Hero supports two call-to-action buttons for progressing user journeys.
When setting up a call-to-action button, you first need to have an appropriate form to direct users to.
Bear in mind that the button copy is fixed:
- CTA 1: Request a quote
- CTA 2: Get in touch
That means CTA 1 must only be used for a quote form while CTA 2 can only be used for a contact form.
Add the form URLs to the relevant link field.
Recommended media specifications
Main image
| Format | Orientation | Dimensions | File size |
| JPG | Square | Width: 1600px Height: 1600px | <100 KB |
Logo
| Format | Orientation | Dimensions |
| PNG | Square | Width: 160px Height: 160px |
The ideal dimensions are 160px x 160px. However, it’s the height that matters. A width larger than 160px will display correctly, provided the height is 160px and you maintain aspect ratio.
You won't noticeably improve the quality of display by making the logo bigger.
Video
| Format | Orientation | Dimensions | File size |
| MP4 | Square | Width: 1600px Height: 1600px | <10 MB |
Large video files can reduce page speed. When a page takes a long time to load, both user experience and SEO performance will suffer. So it’s important to make video files as small as possible.
The maximum video file size you should upload is 10 MB. But the smaller you can make it, the better.
Follow these five tips to make sure your video file is small enough:
- The length must be a maximum of ten seconds
- Stick to dimensions of 1600px x 1600px
- Set the resolution to 72dpi
- Remove any audio
- Compress the video before uploading
Do's and don'ts
Do
Place the hero banner at the top of the page
The hero banner should be the first thing users see.
Don't
Don’t use it for non-campaign content
Use either Hero-Full Width Image or Hero-Full Width Video for similar functionality.
Don’t use JPEG files for the logo
JPEG files create empty white space. Save logo files as PNG instead.
Don't use more than one hero banner
Having a single H1 per page is a fundamental SEO principle.